Monday, March 23, 2015

Making A Monogram Wood Sign

The thing about 

one simple letter

is that it makes bold graphic art.


Pin It!
It's the kind of wall art that you can leave up year round.


So I thought I would share how I made this one.

Start with a 24" x 24" utility panel (or plywood).

Nail wood panel onto 2 boards that support the back sides.

Then cut furring strips to frame the edge.

Using black, white, and raw sienna,

I made a blend of paint that appears to have a lot of layers

in the gray.


Keep blending in a criss cross motion

until you get a layered look

that you like.


I like to see the actual brush stroke.

Handmade, ya know.


Pin It!
Paint the frame edge in a mushroom tan.

I mix brown, camel, and raw sienna to get that tan.


Then brush white randomly on top of that.


It will be a worn and layered look.

You can see the layers here on the side:


I print the letter in photoshop

(using Ecuyer Dax font)

and chalk transfer to the dry board.
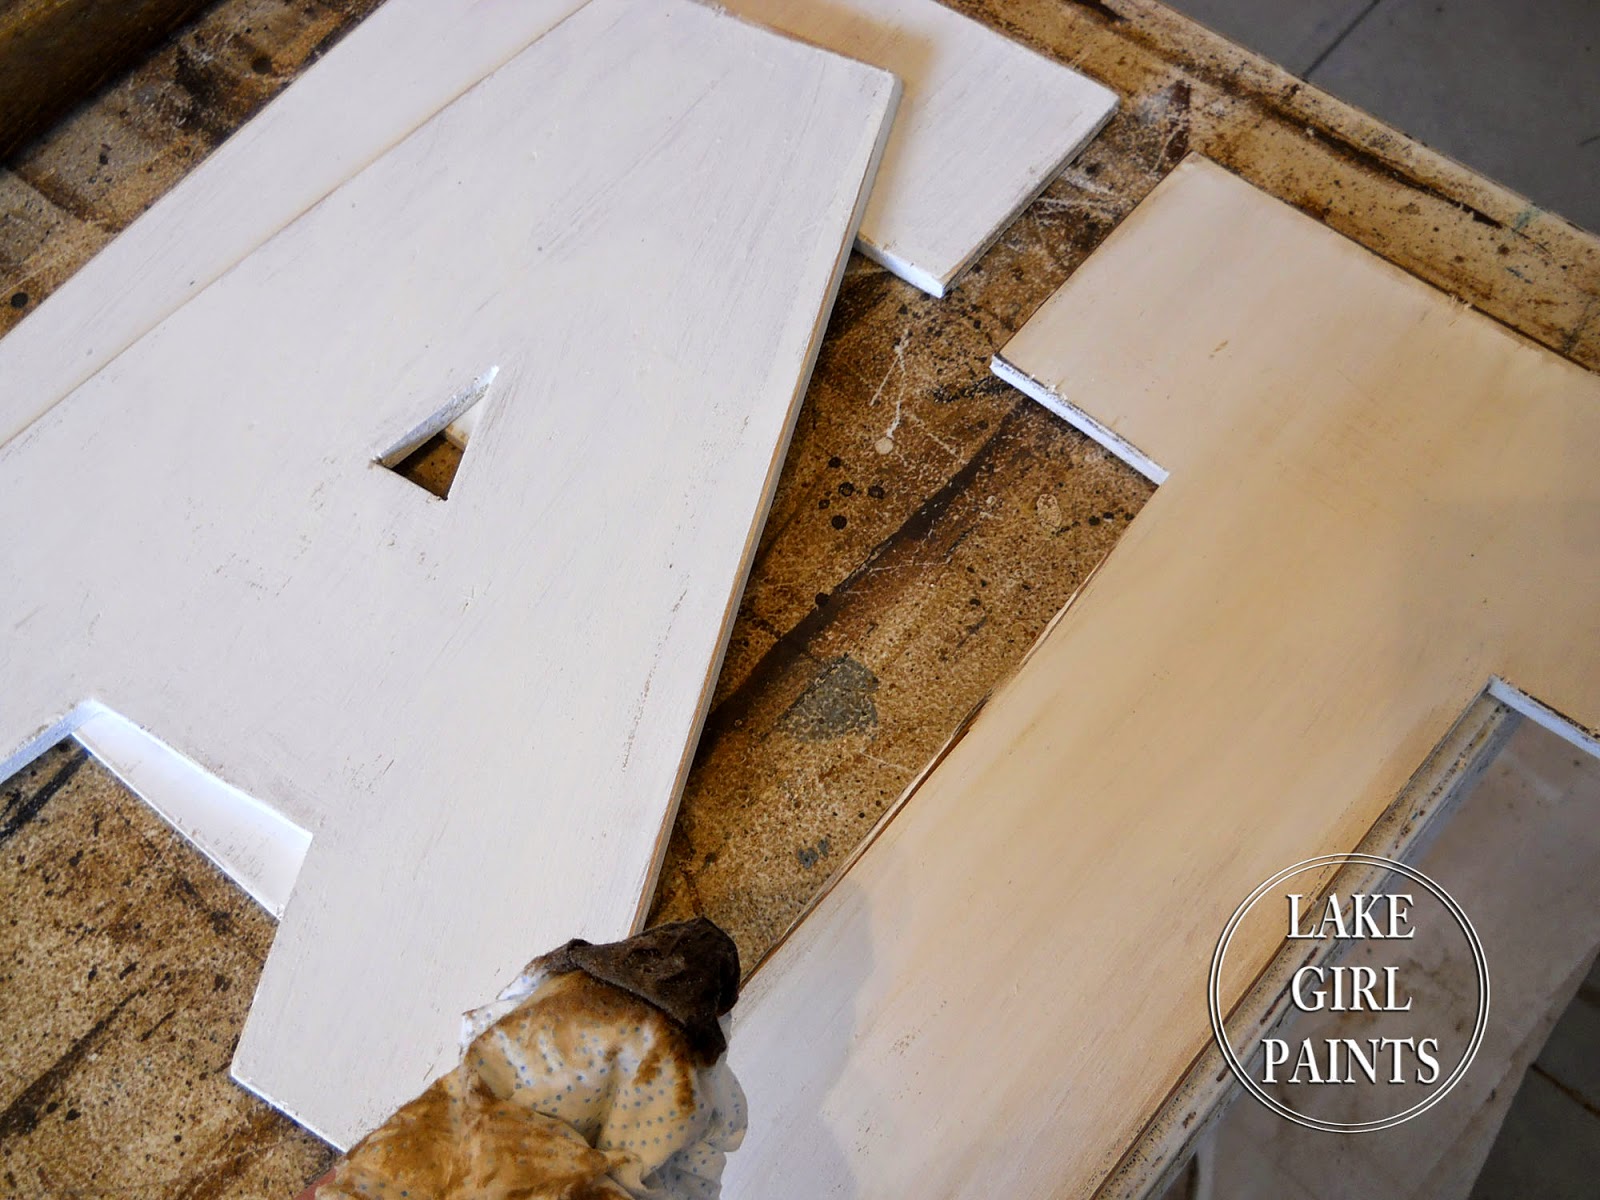


Paint in off white.

I use Crumb Cookie - Lowes Olympic.

Then add a camel and brown glaze.


Use a baby wipe to wipe down in areas that are too dark.


Shade edges with a brown gray mix.


I found a large existing frame

and put a utility panel board in that

to make an even bigger Monogram wall art.


Pin It!


I want to try these in other colors too!

If you do - send me a pic : )

Deb


Sharing At:


Wednesday, March 4, 2015

EAT Drink and be Merry Marquee Sign and Wine Storage

A little BIG something

for my Dining Room Wall!


Pin It!


This has been my marathon project

since I sketched it out about four months ago!

I think I could be obsessed with building things

if I had all of the right tools.

My builds are very rough,

but they look okay from a distance.

( sorry Dad)


Pin It!
So it looks like one large unit,

but is really two pieces.

The Large EAT letters are cut from 3/8 " plywood.


They are painted white and rubbed with

English Chestnut Stain.


The base color for the sign is a medium gray.

Then I criss cross brush on a glaze of

raw sienna and floetrol.

I also rubbed on stain in places.

It's a hodge podge of grunginess.

Just keep layering colors.


I painted the wine storage

with a mix of Raw Sienna, Brown, and Camel.

While it was still wet, I brushed on some white.


It's not an exact science : )

I love to play with color layers.


Attach the letters with Liquid Nails

and a couple of small screws.


Let dry.

Mark light locations.

I bought my globe lights at Target.


Use a 3/4" spade bit and drill through.


Chalk transfer letters and paint white 

with a dark charcoal shadow.

Stain to grunge.


I added some hooks from Hobby Lobby

for my coffee mugs.

I will keep wine and coffee in the wood bin.


Pin It!

I love coffee anything

and twinkly lights.

So this will be a happy wall!


Hope it inspires you!

Deb


Sharing At: