Tuesday, November 26, 2013

Stocking Hook Board, Chevron Chair, Christmas Sign

I'm adding more goodies

to my Christmas Corner!


Pin It!


I'm going neutral.

I love the restful color palette,

but it's quite the challenge for me

to keep from adding a blast of red.

Well, today it's cream, white, gray, and brown

with lots of twinkly lights.


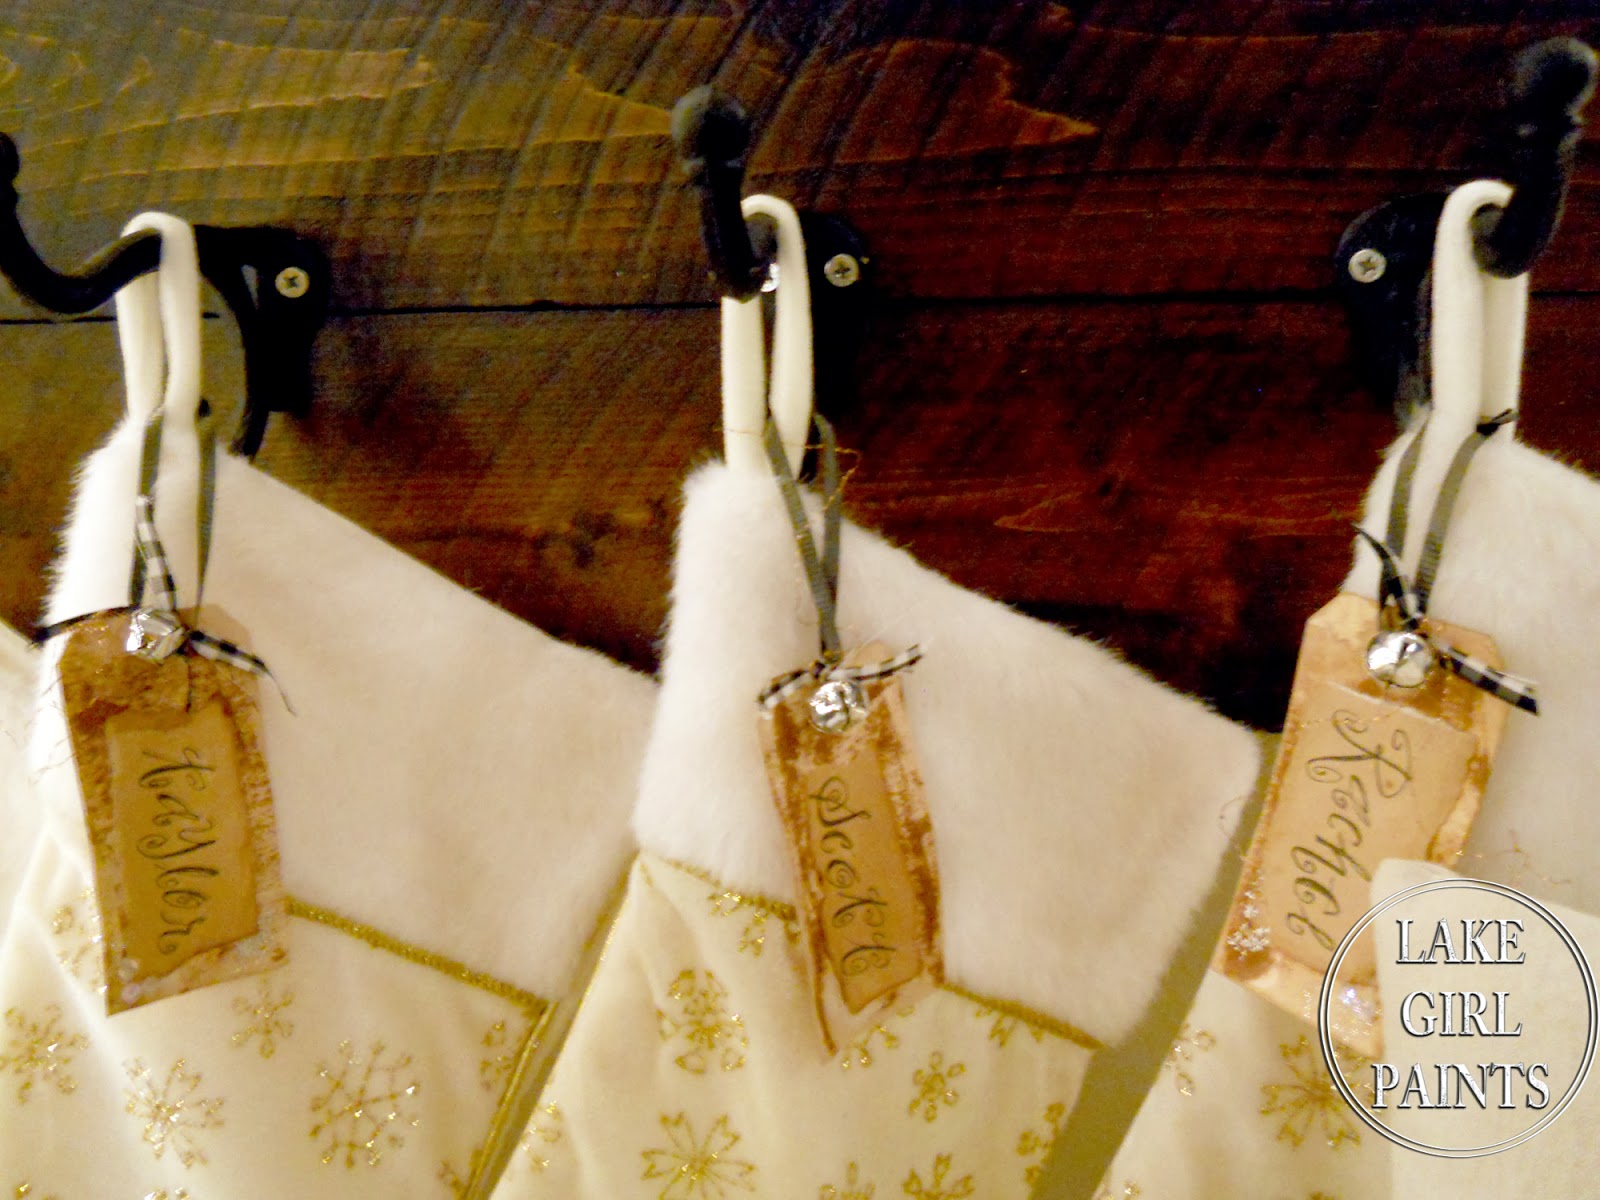
I made the stocking board out of fence board.

I double loaded my brush with Early American Stain

and Black Semi-Gloss Paint.

I brushed a gloss acrylic sealer on the boards

and added some $2 hooks from Hobby Lobby.


Pin It!
I like the rustic old barn look, 

especially the dark contrast with all of the light coordinates.


Then!

What about this chair that I found in the trash!


Pin It!
All trendy now with the chevron fabric,

natural caned back,

white chippy paint,

and on casters, ta boot.

It's a squatty little chair , but so inviting,

especially now with the sweet woodland deer pillow.


Now that was a fun paint project I have been wanting to try.

You should see Craftberry Bush watercolors.

She paints a beautiful watercolor buck that you can

purchase at her site.

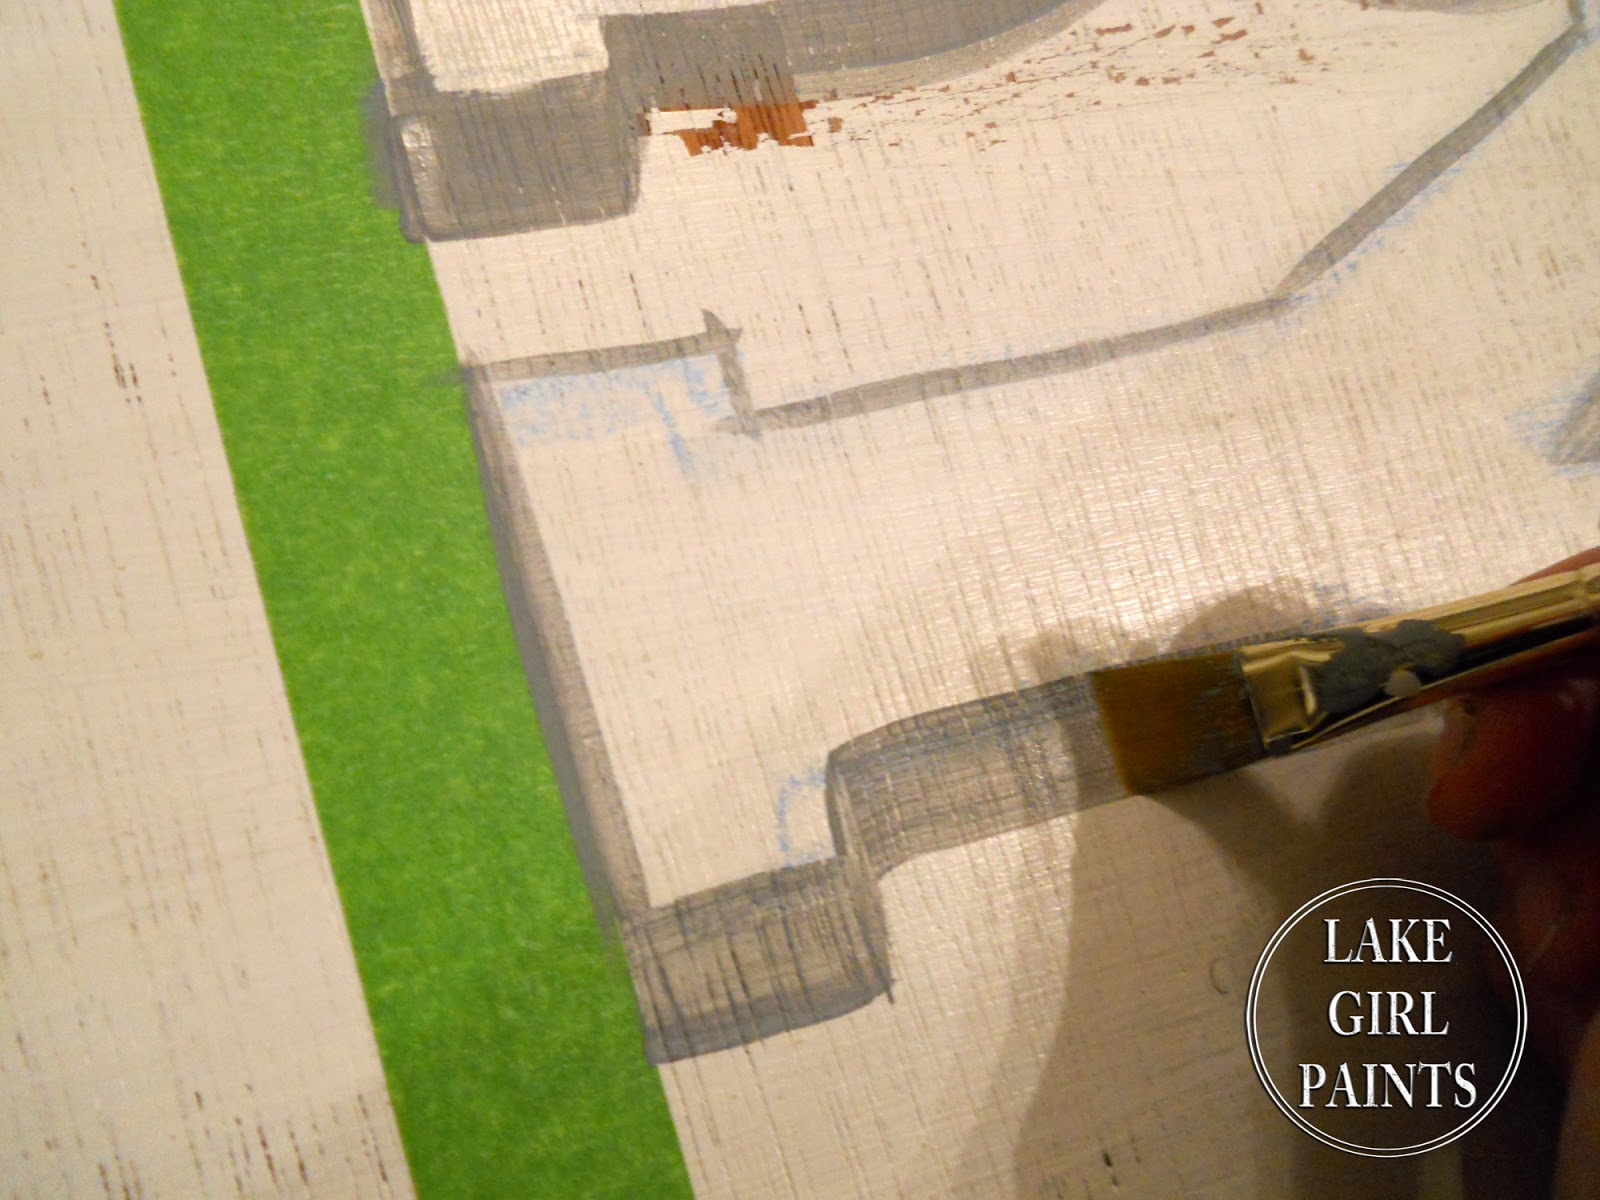
I sketched mine with pencil and then used 

watered down acrylics on canvas for my pillow.

I have more woodland craft ideas I hope to get to!


You can find how to make the

Merry Christmas sign here.


Are you all getting ready to make 

a little Christmas Nook?!

I don't have a mantel, so I have to create a space.

Have a great Thanksgiving Week!

Deb


Sharing at:

Saturday, November 23, 2013

Have Yourself a "Big" Merry Little Christmas Sign

If you come to visit me this Holiday Season,

my wall will welcome you!


Pin It!
"Have Yourself A Merry Little Christmas"

will be a big bright happy expression.

This will be my little Christmas corner.

I've got my stockings out, the tree halfway up,

but I always love the sparkly lights anytime.


Pin It!

You could even make this sign to hang outdoors.

Mine measures 30" x 49".

Right, a BIG Merry little Christmas!

I used 1/4" underlayment.

($13 for the whole 4' x 8' sheet)

I framed the board with furring strips.

Here is the construction on back:


To make sure some of the paint would sand off,

I wiped on a little vaseline over the

brown painted surface. (just random and sparse)


That way, after the off white paint,

some places will sand and look chippy old.


I didn't use a photoshop layout this time.

I made a sketch and then measured, marked,

and taped where my lettering would go.

I chalked in all of the design and lettering first.

Easy to change.


Using a flat brush laying in the thick shadow,


Then on it's side for edging.


Then a liner brush in darker charcoal for the drop shadow.


Easy grays, whites, charcoals, and browns

make a restful palette,

and will anchor my cozy Christmas Corner.


This year, my nook will be neutral.

But can't you just see this sign 

in red with white letters!!


I tucked some rosemary clippings in a water pouch

inside of my burlap ribbon.


Pin It!

I love Thanksgiving Week.

But I had to get jump started on my Christmas projects

so that I can share them with all of my creative friends!!

I have more fun things that I'm adding to my Christmas corner.

I will be sharing those later this week.

Hope to see you back soon.

Blessings Friends!

Deb


Sharing at:


Monday, November 18, 2013

Little Santa Rocker

Just think,

you could paint a little rocker

like this to set beside your tree

for the little ones.


Pin It!
It's really the same design


Pin It!

The base of the chair is black

with red brushed over the top


There is ribbon detail on the bottom runners.

You can see the brush stroke in this video.


You could use a little burlap cushion

and use the rocker year round.


Pin It!

The kids will love it!

Is your "making" list long like mine?!

So many fun decorating ideas.

I checked one off of my list today -

a Merry Christmas sign

that I will be sharing soon.

Thanks so much for visiting my blog,

Deb


Link Parties:

Friday, November 15, 2013

Large Word Art for Girls Room


Pin It!
Words to encourage Girls-

What a nice reminder this will be

for Kaita as it hangs on her bedroom wall.

This is a large piece of art

measuring 27" x 49".


Here are some of the colors that I used

and photos of letter layout and pencil transfer.


To dry brush white over the top of lettering,

use an old ragged edge brush.

Dip into white paint.

Rub off onto paper towel

and lightly pull across paint surface.


Also dry brush pink trim.


Stabilize back frame

and use D rings to hang.


This large word art will 

hang on a bright green wall.


Pin It!


Imagine the impact you can make

with word art -

encouraging her heart everyday-

and making a fun graphic color statement in her room.


Have a great weekend, Friends!

Deb


Link Parties: